
When using handmade beads it’s not unusual to find some imperfections but rather than discard them, you can find a way to make them useful. I have bead caps in mind here.
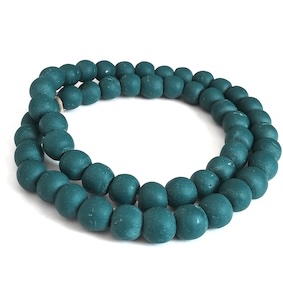
For my project I need some beads from the teal strand below.
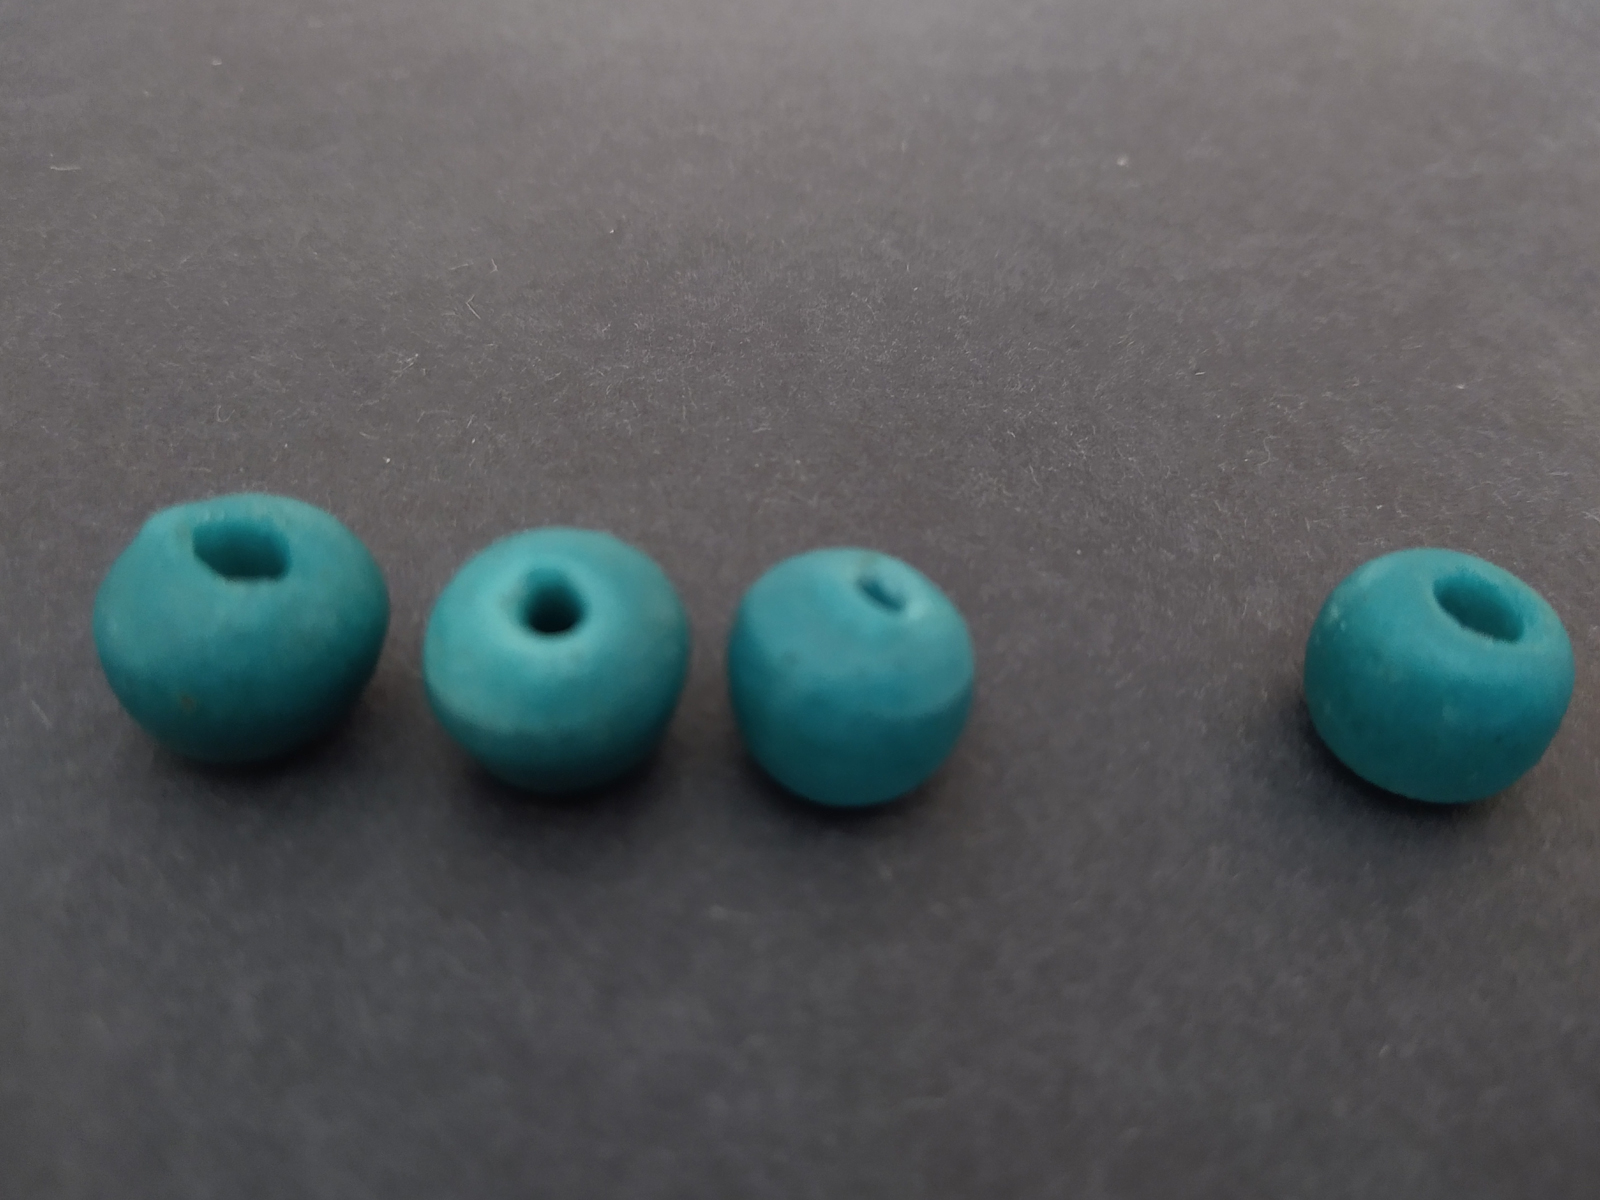
The last bead in photo below is the perfect shape. But the first three are not; they have raised bumps around the hole which makes them lopsided. And frustrating as it initially feels there is a way out.
Bead Caps:
Usually inexpensive they cover up the imperfection, are easy to use and transform the look of the bead.
My beads are about 13-15mm wide and I figure a 12mm bead cap will work. I prefer the flexible caps which can be moulded round the bead. The antique silver tone filigree ones below will bring some style to the plain teal beads.


Steps:
- Glue bead cap to bead ensuring the hole lines up with the bead hole. (I use the GS Hypo-Cement beadiing glue for this project).
- Double-check bead holes aren’t blocked by the bead cap, insert the head pin to ensure it goes through both the bead cap and the both bead holes.( For this project I only need a cap on one end but you could use bead caps on both ends if needed.)
- Leave to dry. It may mean setting it aside and coming back later to complete your project.
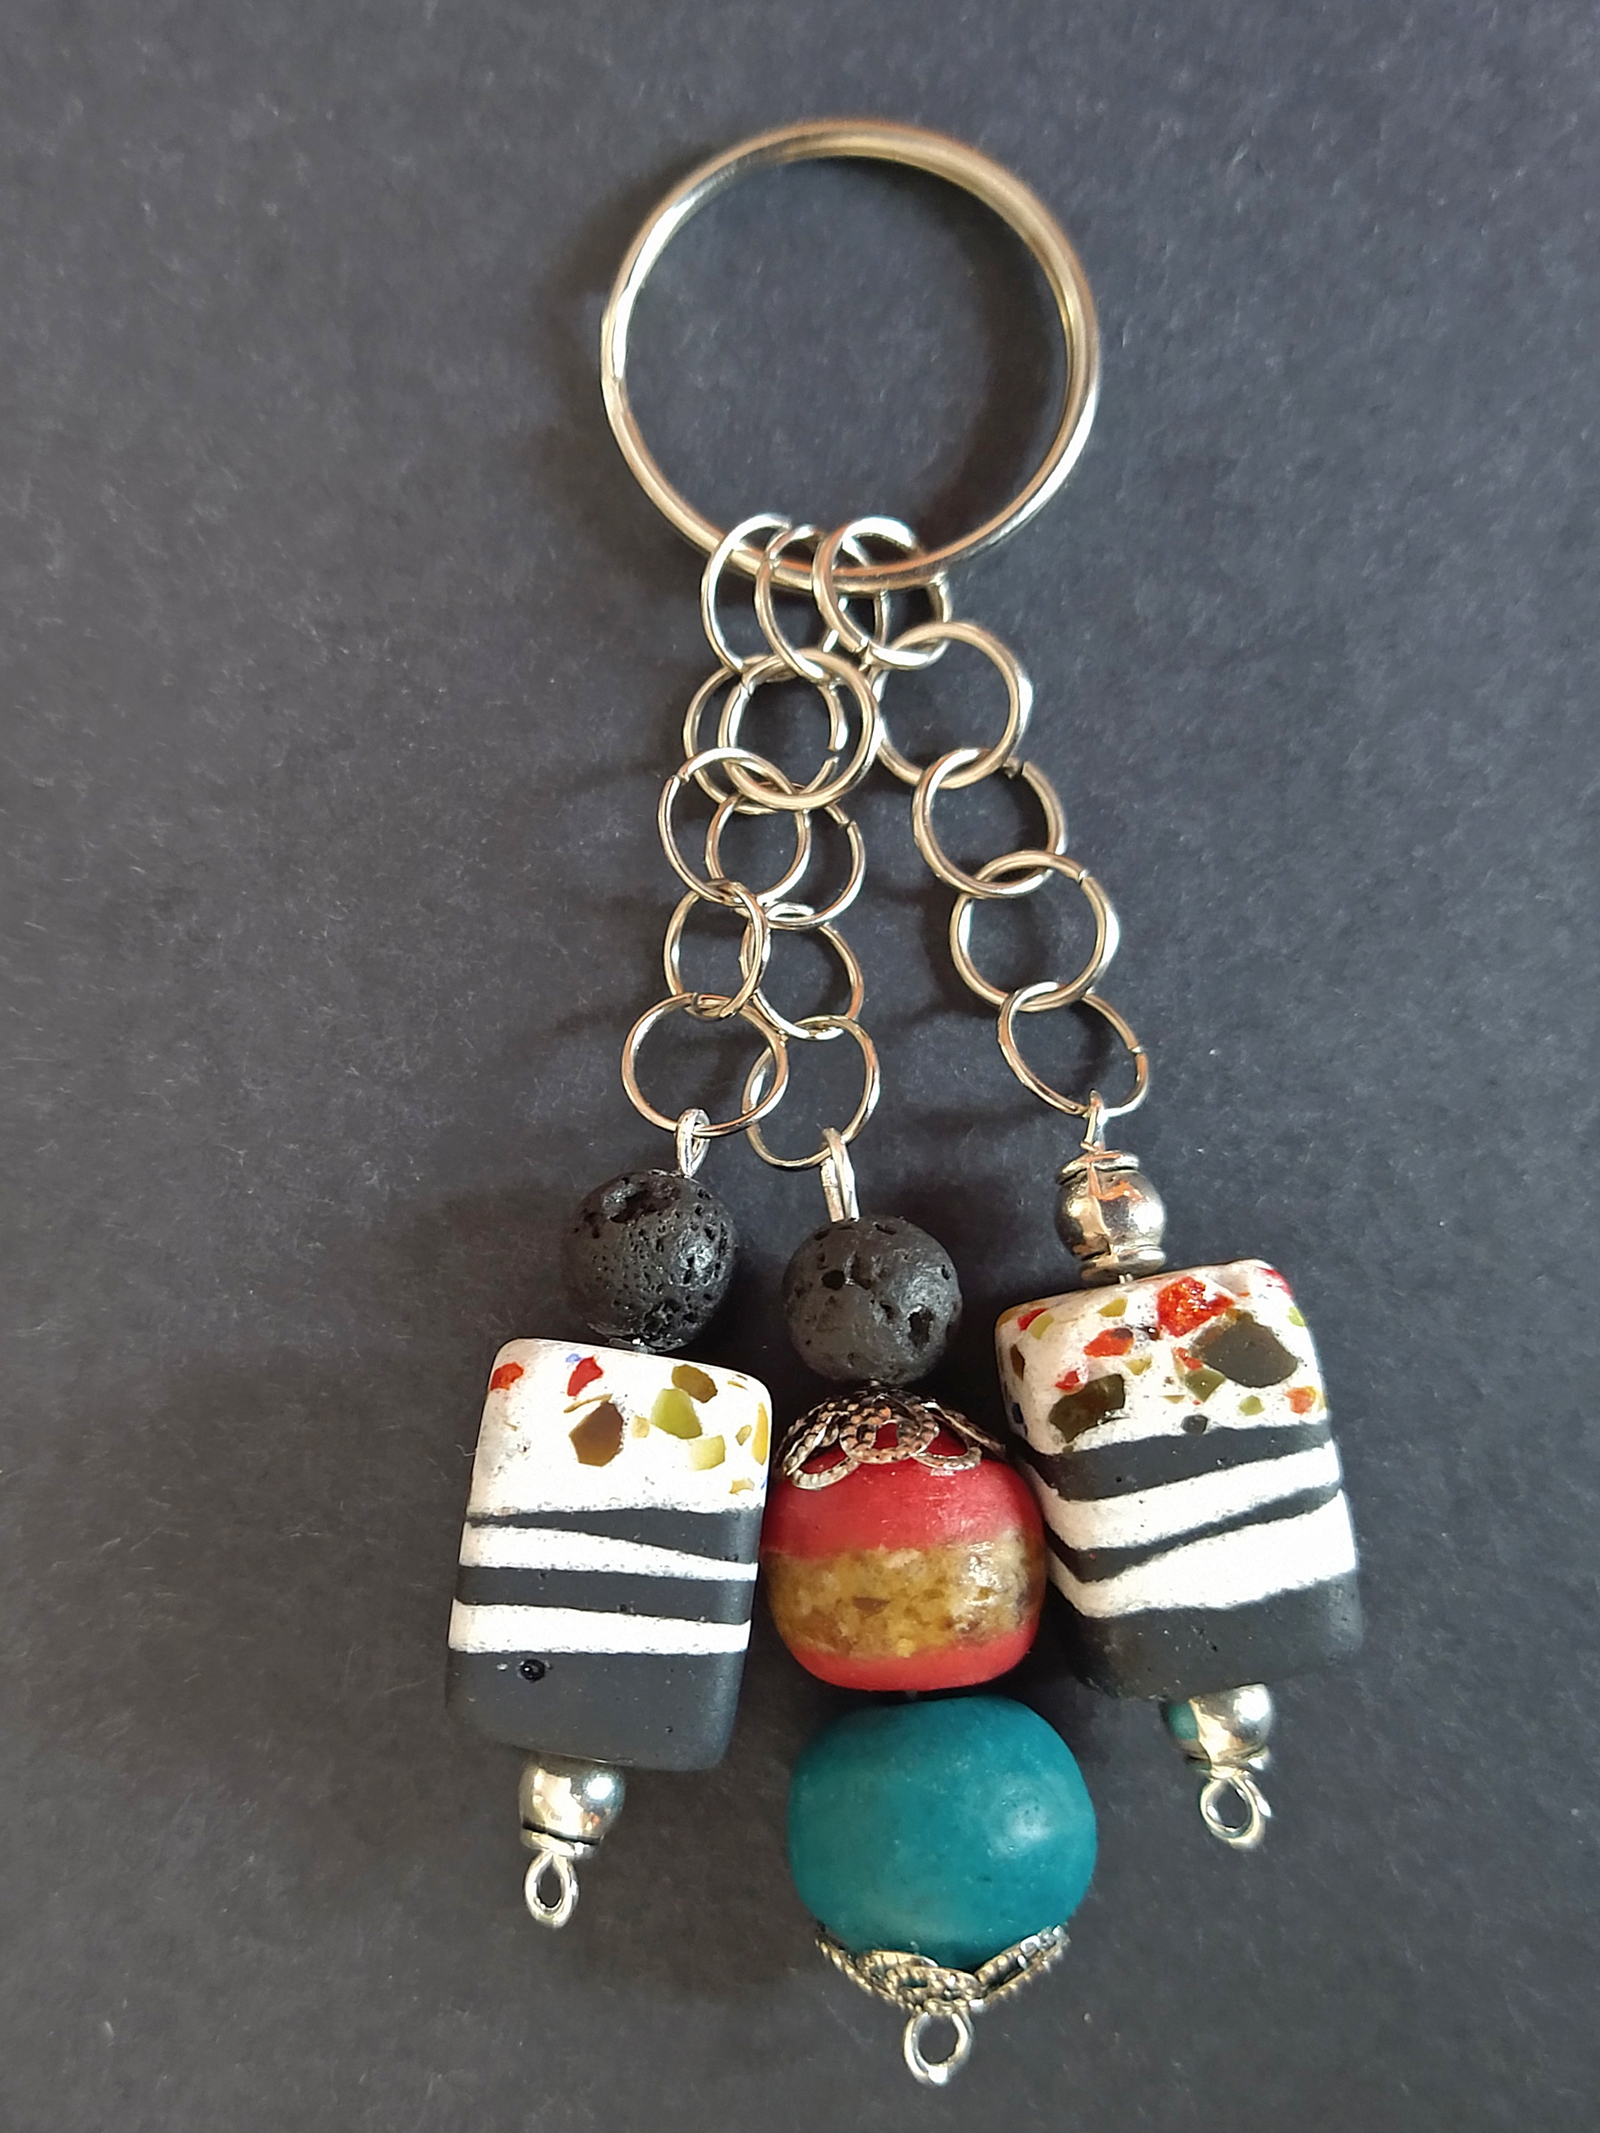
Finished project below: